도커로 AgensGraph 사용해보기
국내 유일의 GraphDatabase인 AgensGraph는 도커를 지원한다.
AgensGraph 도커 리포지토리
도커 컨테이너를 사용해 AgensGraph에 접속하고 간단한 Cypher 쿼리를 사용해보자.
목차
AgensGraph 도커 컨테이너에 접속하기
AgensGraph를 사용하기 위해 도커 이미지를 받는다.
docker pull bitnine/agensgraph:v2.1.1

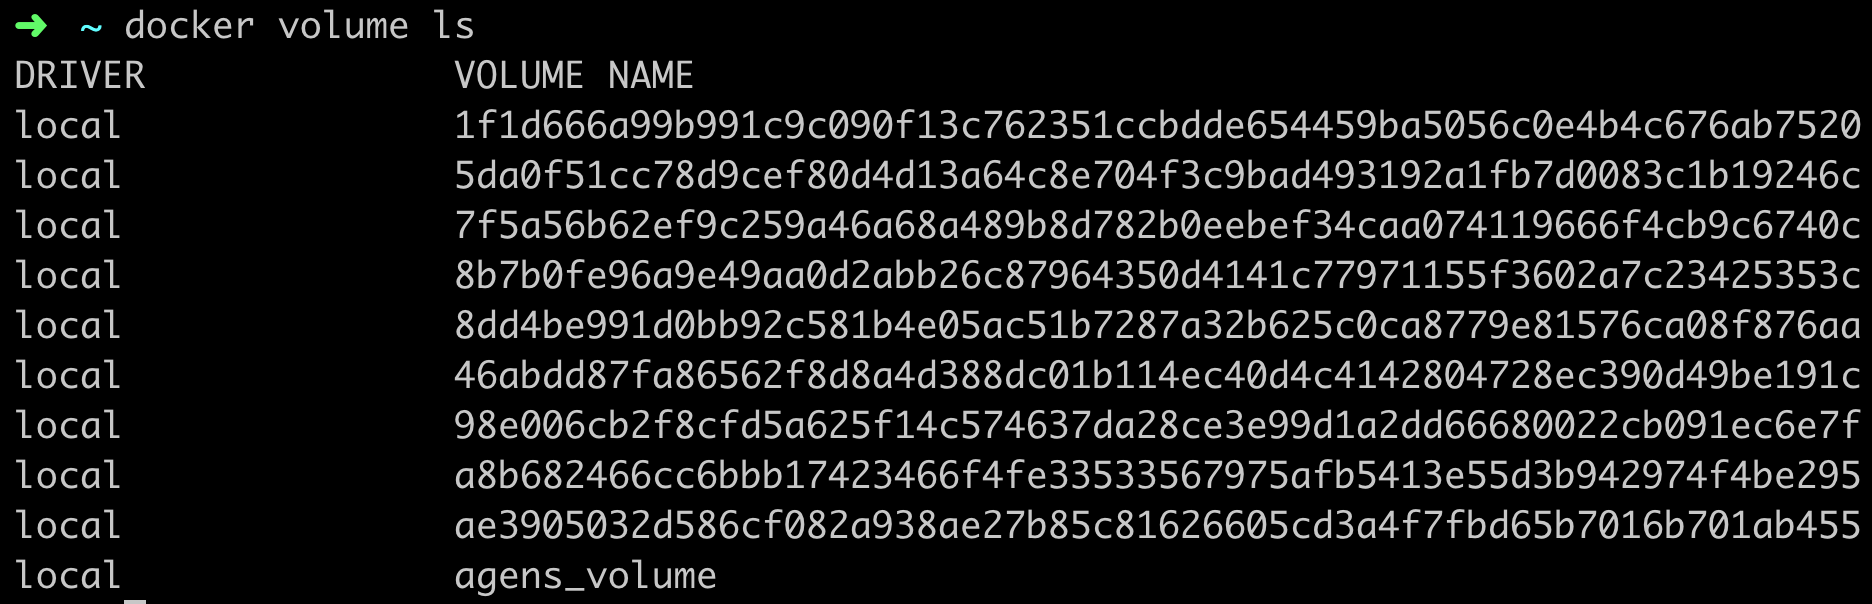
AgensGraph 컨테이너와 로컬에서 데이터 공유를 할 도커 볼륨을 하나 만든다.
docker volume create --name agens_volume
AgensGraph 이미지를 /bin/bash 명령어로 실행한다.
docker run -i -t -v agens_volume:/home/agens/AgensGraph/data bitnine/agensgraph:v2.1.1 /bin/bash

AgensGraph 컨테이너에 접속 후 ‘agens’라는 명령어를 입력하면 AgensGraph에 접속하게 된다.

간단한 cyhper 쿼리 사용해보기
‘hello_world’라는 그래프를 만든다.
CREATE GRAPH hello_world;

만들어진 ‘hello_world’ 그래프를 사용하기 위해 경로 설정을 해야한다.
SET graph_path = hello_world;

‘hello’라는 노드를 만든다. hello는 노드 이름, Programming은 라벨 이름, level은 프로퍼티이다.
CREATE (hello:Programming {level: '1'});

마찬가지로 ‘world’라는 노드도 만든다.
CREATE (world:Programming {level: '1'});

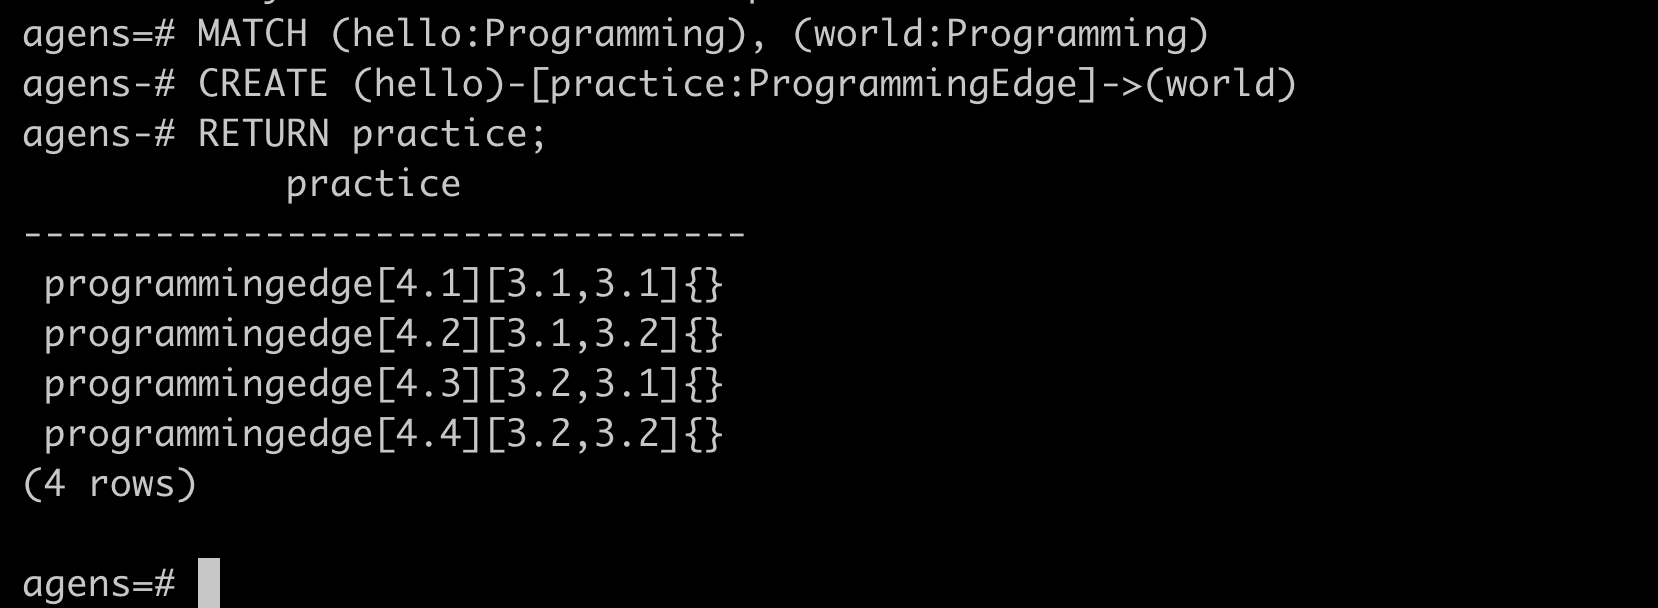
다음으로 hello 노드와 world 노드 사이에 ‘practice’라는 관계(edge)를 만들자.
MATCH (hello:Programming), (world:Programming)
CREATE (hello)-[practice:ProgrammingEdge]->(world)
RETURN practice;
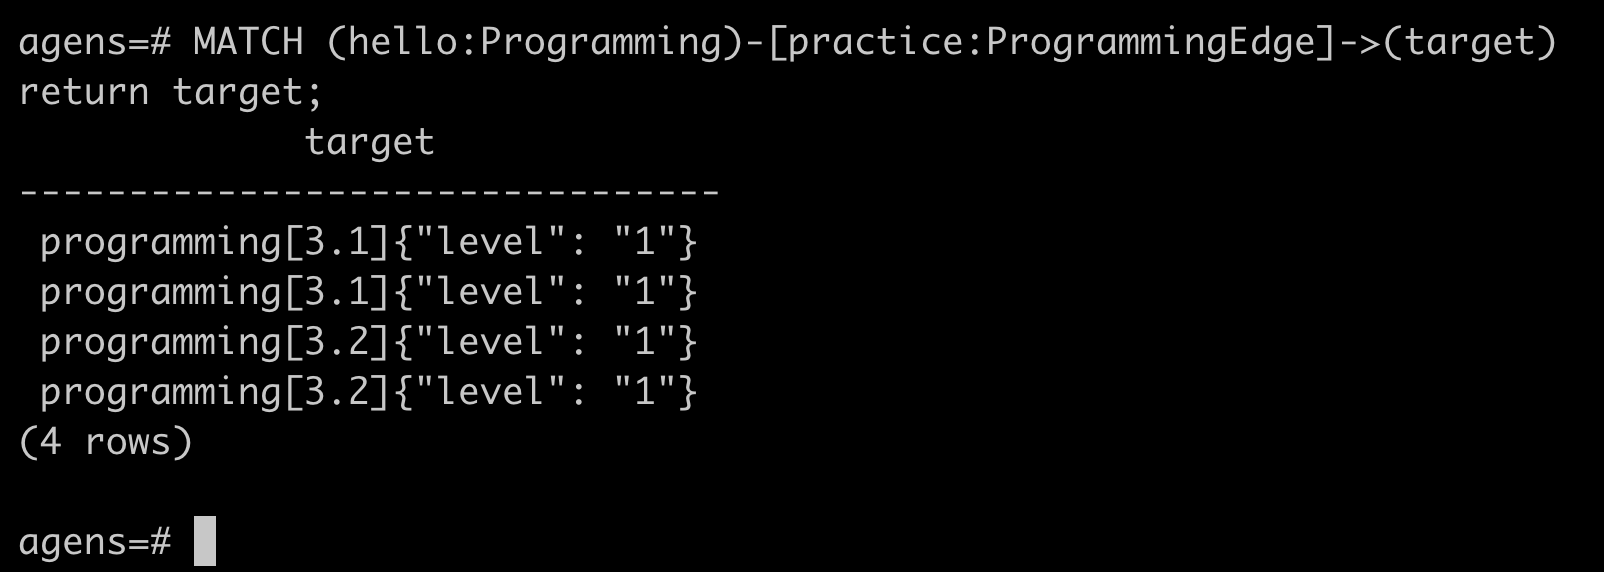
마지막으로 hello 노드와 practice 관계가 있는 노드를 찾는 쿼리를 실행해본다.
MATCH (hello:Programming)-[practice:ProgrammingEdge]->(target)
RETURN target;